

7 pH Meter Calibration Steps for Hydroponics
Last Updated: October 30, 2026
Quick Summary
pH meter calibration resets your meter against known buffer solutions: rinse the electrode, calibrate at pH 7 first to set the zero point, then at pH 4 to set the slope, and save the result. Calibrate at least once a week when running a reservoir and before any reading you plan to act on.
- Pour roughly 20-30 ml of buffer into a clean container and never dip the probe into the stock bottle.
- Rinse the electrode with distilled water and blot gently, never wiping the glass bulb.
- Calibrate at least weekly, plus after cleaning, a new electrode, a battery change or long storage.
- Let buffers and samples reach room temperature, since buffer values are stated at 25°C.
- If a calibration fails at pH 7, replace the aliquot with fresh buffer before blaming the probe.
Table of Contents
- Why pH Meter Calibration Decides Your Hydroponic Results
- What You Need Before You Start Calibrating
- How to Calibrate a pH Meter With Buffer Solution
- How Often to Calibrate a pH Meter in a Hydroponic Setup
- How to Clean a pH Meter Probe Without Damaging It
- Hydroponic pH Meter Troubleshooting: When Readings Drift
- Buffer Handling, Temperature and Contamination Prevention
- Stock Up on Calibration Solutions at The Growers Shop
- Frequently Asked Questions
Why pH Meter Calibration Decides Your Hydroponic Results
A pH meter calibration is the process of resetting your meter's reference points against known buffer solutions so its readings stay true. Skip it, and every number on that screen becomes a guess.
Why does it matter so much? In hydroponics, the nutrient solution is the entire growing environment.
Here is the part most guides get wrong: calibration does not adjust your nutrient solution. For the deeper guide on mixing nutrients correctly, see How To Mix Hydroponic Nutrients.
What You Need Before You Start Calibrating
Get your kit together first. A calibration done in a hurry, with the wrong bottles, is worse than no calibration at all.
You will need:
- pH 7.0 buffer solution (the neutral reference point)
- pH 4.0 buffer solution (the acid reference point)
- pH 10.0 buffer if your meter supports three-point calibration
- Distilled or deionised water for rinsing
- Two or three clean containers, one per solution
- Soft tissue or lint-free cloth
- Your meter's calibration instructions, since button sequences differ by model
Fresh buffer matters more than most people realise. An open bottle left in a warm room absorbs carbon dioxide and shifts its own pH. That quietly ruins your reference point.
How to Calibrate a pH Meter With Buffer Solution
The short version: rinse the probe, calibrate at pH 7 first, then pH 4, then save and confirm. Most digital meters and pH pens follow this same logic, even when the buttons differ. What separates a calibration that holds from one that quietly fails is how you handle the buffers and how you verify the result before you trust it on a reservoir.
Step 1: Clean and Rinse the Electrode
Rinse the electrode with distilled or deionised water and blot it gently. Never wipe the glass bulb, because a scratched sensor gives slow, jumpy readings forever.

Do this between every solution, too. A drop of pH 7 carried into the pH 4 cup contaminates it. The same logic applies to fertilizer residue: if you have just been measuring nutrient solution, rinse twice before you go anywhere near a buffer cup. Fertilizer salts left on the bulb will drag the buffer reading and can push a calibration point off by enough to matter.
Step 2: Pour Single-Use Aliquots, Never Dip Into the Stock Bottle
Growers who skip this step often contaminate their buffers quickly. Pour roughly 20-30 ml of pH 7 buffer into a clean container, enough to cover the bulb and junction, and calibrate from that cup.
Why it matters: a probe that has just been in a nutrient reservoir carries fertilizer residue and reservoir water on its body and in the junction. Dip that into a stock bottle and you have inoculated the whole bottle with contamination.
Use separate containers for pH 7, pH 4 and pH 10.
Step 3: Calibrate at pH 7, Then pH 4
Stir the probe gently in the pH 7 aliquot and let the reading settle. Most meters are calibrated at pH 7 first because it sets the zero point, or offset. Press the calibration button your manual specifies once the display is stable.
Next, rinse, blot, and repeat with pH 4 buffer. This sets the slope. If you are buying supplies, Bluelab's pH 7.0 and pH 4.0 solution sachets, available in 20ml sachets, cover both points, and the product listing describes them as Bluelab calibration solutions.

If your meter supports three-point calibration, add pH 10 after pH 4.
Step 4: Confirm the Reading and Check the Acceptance Criteria
Let the meter sit back in a fresh pH 7 aliquot and check the display. It should read close to 7.0. Then press save or confirm, and note the date.
A calibration has succeeded when the meter accepts both points and returns a stable reading in each buffer. Many meters also display a slope or electrode-condition indicator after calibration. Check your manual for how your model reports this.
Watch out: if you skip the save step, the calibration may be lost when the meter powers off.
Step 5: Calibrate Immediately Before You Measure Nutrient Solution
Calibrating directly before the reading you plan to act on keeps the gap between calibration and measurement short. Calibrate, rinse thoroughly, then take the reservoir sample. This keeps the gap between calibration and measurement short, so drift has less chance to creep in.
Bluelab pH 4.0 Solution Sachets (30) →
When you take the reservoir reading, use a clean sample cup rather than dipping the probe into the tank.
Here is the calibration sequence at a glance, from rinsing the probe to confirming the saved result.
| Step | What to do | Key detail |
|---|---|---|
| 1 | Clean and rinse the electrode | Rinse with distilled water, blot gently, never wipe the bulb |
| 2 | Pour single-use aliquots | Roughly 20-30 ml per clean container, never dip into stock bottle |
| 3 | Calibrate at pH 7, then pH 4 | pH 7 sets the zero point, pH 4 sets the slope |
| 4 | Confirm the reading and save | Meter should read close to 7.0 in fresh pH 7 aliquot |
| 5 | Calibrate immediately before measuring | Keeps the gap between calibration and measurement short |
How Often to Calibrate a pH Meter in a Hydroponic Setup
Calibrate at least once a week when you are actively running a reservoir, and before any reading you plan to act on. Heavy use, high temperatures and frequent cleaning all push drift faster.
Practical triggers to recalibrate:
- Weekly, as a baseline habit
- After cleaning the probe
- After a new electrode or a battery change
- After storage longer than a few weeks
- Any time a reading looks wrong compared with your EC pen or your plants
A common mistake is calibrating once at the start of a grow and trusting it for months. Meters drift. There is no way around that.
How to Clean a pH Meter Probe Without Damaging It
Cleaning a pH meter probe means rinsing with distilled water and blotting dry, with a gentle soak only when residue builds up. Never scrub the bulb, and never use household cleaners.
Follow this routine:
- Rinse with distilled water after every session.
- Blot with a soft tissue, do not rub.
- For salt build-up, soak briefly in a dedicated electrode cleaning solution.
- Store the probe wet, in storage solution or buffer, never dry.
- Replace the probe when readings stay slow or erratic after calibration.
Hydroponic pH Meter Troubleshooting: When Readings Drift
Drifting readings usually trace back to four causes: a contaminated buffer, a dirty electrode, a flat battery, or a probe at the end of its life. Work through them in that order.
Try this checklist:
- Readings jump around? Rinse the probe and check for air bubbles on the bulb.
- Won't calibrate at pH 7? The buffer may be old or contaminated. Fresh solution fixes most cases.
- Calibrates but drifts within a day? The electrode is likely worn.
- Numbers look plausible but plants disagree? Cross-check with a second meter or fresh buffer.
Buffer Handling, Temperature and Contamination Prevention
Temperature and contamination are the two quiet killers of pH meter calibration accuracy. Most meters with automatic temperature compensation (ATC) adjust for solution temperature, but they cannot fix a buffer that has gone off, and they cannot correct for every temperature effect in the way growers assume.
What ATC Does and Does Not Correct
Automatic temperature compensation adjusts the meter's displayed pH for the temperature of the solution the probe is in, using the electrode's temperature response.
A practical approach is to let buffers and samples reach room temperature before calibrating or measuring. If you must work cold, note that readings may sit slightly off and re-check once temperatures equalise. ATC is a helpful correction, not a licence to ignore temperature.
Buffer Handling Rules That Actually Matter
Keep buffers working properly with these habits:
- Store bottles cool, out of direct sun and heat, with lids tight. An open bottle left in a warm room absorbs carbon dioxide and shifts its own pH.
- Never dip a dirty probe straight into the stock bottle. Pour a single-use aliquot into a separate cup first.
- Do not pour used buffer back. Ever. Once it has touched a probe, it is spent.
- Keep one clean container per buffer and rinse between uses.
- Check the expiry date on the bottle and write the opening date on it. Replace buffers that are past their date or have been open for a long time.
- Keep bottles out of reach of children.
Recognising a Contaminated or Expired Buffer
A buffer that has gone off often looks and smells normal, which is why the expiry date and opening date matter more than appearance. Warning signs include a calibration that will not accept a point, a reading that drifts while the probe sits in the buffer, or a fresh buffer that gives a noticeably different result from the previous batch.
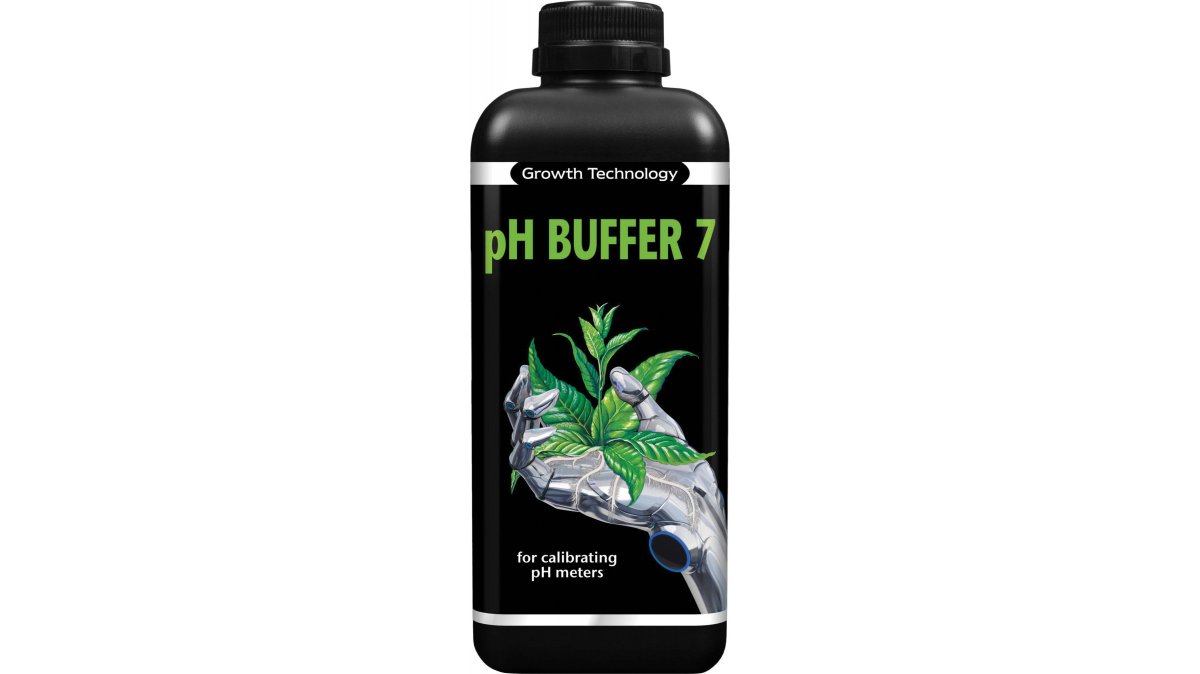
For growers who calibrate often, a larger bottle makes sense, provided you decant into a cup rather than dipping. The Growth Technology 1L pH 7 buffer and 300ml pH 4 buffer are available from The Growers Shop.

Stock Up on Calibration Solutions at The Growers Shop
Calibration only works when you have fresh buffer within arm's reach. That is the honest challenge here: most bad readings come from growers who ran out and improvised.
The Growers Shop stocks Bluelab pH solution sachets and Growth Technology pH buffers, along with meters and measuring equipment.
Frequently Asked Questions
Can I use tap water to calibrate a pH meter?
No. Tap water has an unknown and variable pH, so it cannot serve as a reference point. Calibration needs a buffer solution of a known, fixed value, such as pH 7.0 and pH 4.0. Tap water is fine for rinsing the probe between buffers, but distilled or deionized water is better because it leaves no mineral residue. Always calibrate in fresh buffer poured into a clean container, never straight from the bottle.
Why does my hydroponic pH meter give inaccurate readings after calibration?
The usual culprits are a contaminated buffer, a dirty or dried-out electrode, or skipping the rinse between solutions. If readings still drift after a proper two-point calibration, check that the buffer sachets are in date and stored out of direct sun. A probe left dry for long periods can also lose accuracy. If the meter will not hold a calibration point at pH 7 or pH 4, the electrode may need replacing.
Should I use two-point or three-point calibration for hydroponics?
Two-point calibration at pH 7.0 and pH 4.0 covers the range most hydroponic nutrient solutions sit in, so it suits most growers. Three-point calibration adds pH 10 and is worth doing if you regularly run solutions above pH 7 or want extra confidence across the full scale. Whichever you choose, always start at pH 7, then move to the second buffer, rinsing the probe in between.
How should I store a pH meter probe between uses?
Keep the electrode moist. Most pH pens come with a storage cap containing a small amount of KCl solution, and the probe should go back in it after every use. Never store a probe in distilled water or let it dry out, as both shorten its life. Store buffer sachets with the lids tight, in a cool place away from direct sun and heat, and keep everything out of reach of children.
